
The secret to a deep, pain-free squat isn’t more mobility; it’s understanding and adapting to your unique anatomical structure.
- Your hip socket anatomy dictates your natural squat stance, and forcing a “toes forward” position can cause injury.
- Lower back rounding (“butt wink”) is often a core stability issue, not just tight hamstrings.
- Choosing between high-bar and low-bar squats depends on your femur length and leverage.
Recommendation: Stop forcing a textbook squat form. Start by diagnosing your individual structure to build a squat that is powerful, safe, and effective for you.
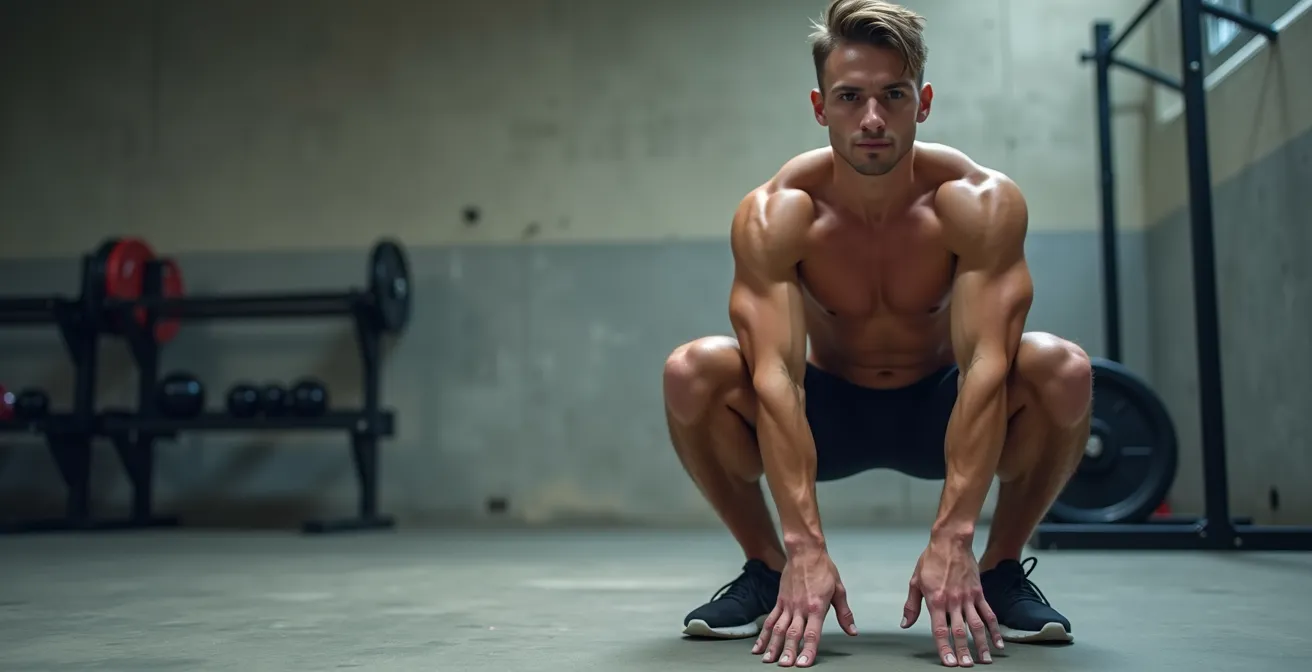
The quest for a deep, ass-to-grass squat is a rite of passage for many lifters. You’re told it’s the gold standard for leg development, yet for many, it leads to a familiar and frustrating outcome: nagging knee pain, a strained lower back, and the constant fear of that “pop” or “tweak” at the bottom of the movement. The common advice is a chorus of generic cues: “keep your chest up,” “push your knees out,” “work on your ankle mobility.” While not entirely wrong, this advice fails to address a fundamental truth.
What if the pain you’re experiencing isn’t a failure of your effort, but a mismatch between your unique body and a one-size-fits-all instruction? The fitness world often ignores the concept of anatomical individuality. We are not built from the same blueprint. The angle of your hip sockets, the length of your femurs, and your inherent muscular imbalances dictate your optimal movement patterns. Forcing your body into a position it’s structurally not designed for is a direct path to joint wear and chronic injury.
This guide breaks that paradigm. We will move beyond generic cues and into the realm of biomechanics. Instead of telling you *what* to do, we will explain *why* your body might be fighting you and *how* to adapt the squat to fit your structure. We will analyze the common faults not as mistakes to be corrected with brute force, but as diagnostic signals. By understanding the root cause of issues like lumbar flexion and knee valgus, you can build a squat that is not only deeper but fundamentally safer, unlocking the leg growth you’ve been chasing without sacrificing your joints. Recent research from 2024 demonstrates that when performed correctly, deep squats show no correlation with an increased risk of injury, reinforcing the need to master your personal form.
This article provides a structured approach to rebuilding your squat from the ground up. We will explore your individual anatomy, correct critical mechanical flaws, and learn how to program for both safety and size. Prepare to deconstruct everything you thought you knew about squatting.
Summary: A Biomechanical Guide to a Perfect, Pain-Free Squat
- Why Your Hip Anatomy Might Make ‘Toes Forward’ Squats Impossible?
- How to Fix Lumbar Flexion at the Bottom of Your Squat?
- High Bar vs. Low Bar: Which Squat Style Suits Long Femurs Better?
- The ‘Knees Caving In’ Error That Tears ACLs Under Load
- When to Use Weightlifting Shoes to Cheat Your Range of Motion?
- The Volume Mistake That Inflames Patellar Tendons in Teenagers
- Why Your Lower Back Hurts Only on One Side After Squash?
- How to Add 2 Inches to Your Thighs When Heavy Squats Aren’t Working?
Why Your Hip Anatomy Might Make ‘Toes Forward’ Squats Impossible?
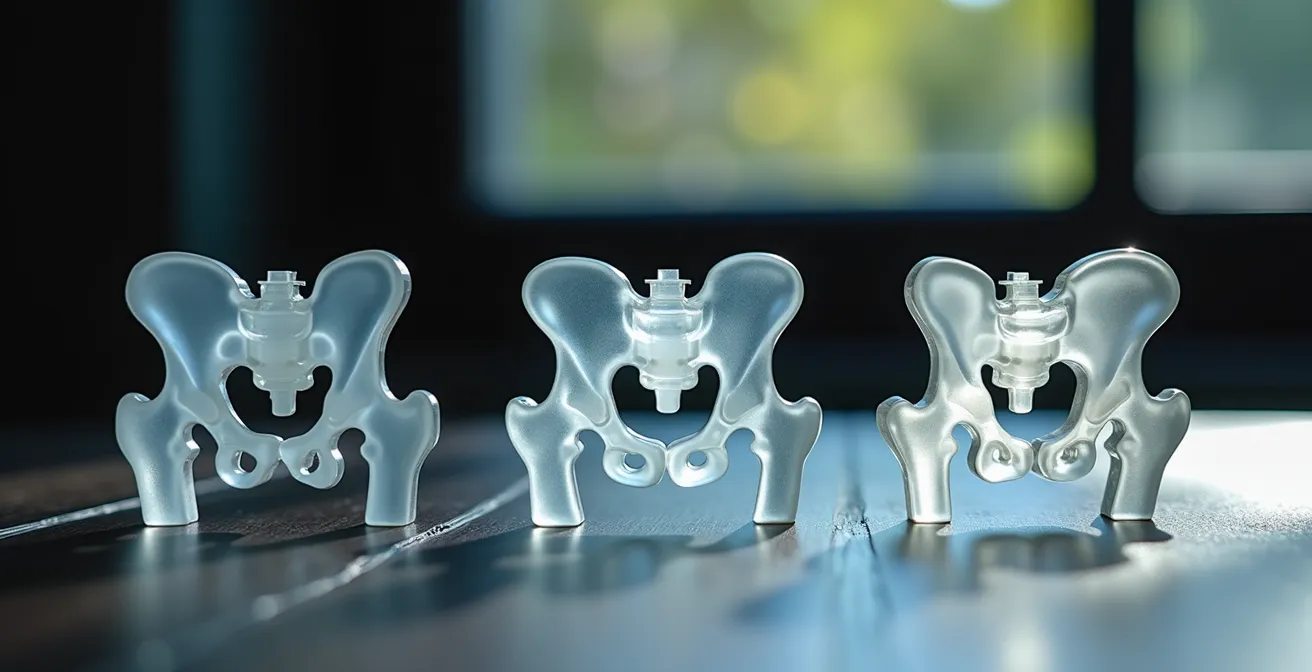
One of the most persistent and damaging cues in strength training is the command to squat with your feet parallel and toes pointing straight ahead. For a small fraction of the population, this works. For most, it’s a recipe for a sharp, pinching pain deep in the hip joint. This isn’t a mobility flaw; it’s a structural limitation dictated by your unique hip anatomy. The issue lies in the orientation of your acetabulum (the hip socket) and the angle of your femoral neck.
Some people have anteverted hips, where the sockets face more forward, making a narrow, toes-forward stance feel natural. Others have retroverted hips, where the sockets are angled more towards the side. Forcing a toes-forward squat with retroverted hips causes the neck of the femur to collide with the rim of the acetabulum, an issue known as femoroacetabular impingement (FAI). This bony contact is what you feel as a “block” or “pinch,” and pushing through it can damage the cartilage and labrum over time.
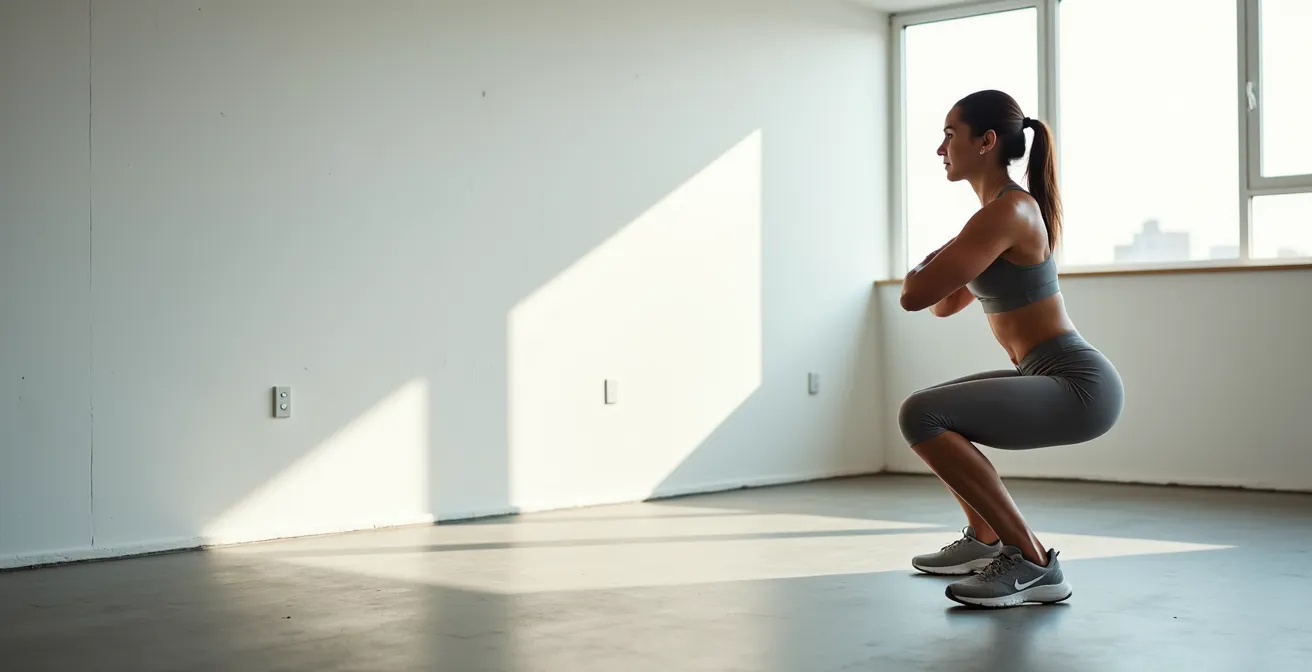
The solution is not to stretch more, but to listen to your body and find your own optimal stance. Your natural, pain-free squat stance is non-negotiable. For most, this will involve turning the toes out anywhere from 15 to 30 degrees and adopting a slightly wider-than-shoulder-width stance. This adjustment creates the necessary space for the femur to move freely within the hip socket, allowing for greater depth without impingement. The idea that there is one “correct” stance is a myth; the correct stance is the one your individual anatomy allows.
How to Fix Lumbar Flexion at the Bottom of Your Squat?
“Butt wink,” or the tendency for the pelvis to tuck under and the lower back to round at the bottom of a squat, is a major source of anxiety and injury risk. This posterior pelvic tilt places the lumbar spine in a vulnerable, flexed position under load, increasing shear forces on the intervertebral discs. While tight hamstrings and poor ankle mobility are often blamed, the most common culprit is a lack of 360-degree core stability and control. Your core’s job is to maintain a neutral spine, and butt wink is a sign that it’s failing at the point of maximum challenge.
To squat deep safely, you must create immense intra-abdominal pressure (IAP) to act as a natural weightlifting belt, locking your lumbar spine in place. This isn’t about simply “flexing your abs.” It’s about a coordinated breath and brace that expands your entire midsection—front, sides, and back. When your core is properly braced, it resists the pull of the hamstrings and adductors at the bottom of the squat, preventing the pelvis from being pulled into that injurious posterior tilt. In fact, research shows that a proper deep squat requires approximately 120° of knee flexion, a range where core stability becomes paramount.
Your Action Plan: 360-Degree Breathing for Core Bracing
- Place one hand on your chest and one on your belly. This provides tactile feedback.
- Inhale deeply through your nose, focusing on expanding your ribs laterally and feeling your belly push out against your hand. Your chest should remain relatively still.
- Hold the breath and the expansion for 2 seconds. Imagine your torso is a rigid, uncrushable cylinder.
- Exhale slowly through pursed lips while consciously maintaining the tension in your core. Do not let your belly collapse.
- Practice this breathing pattern for 10 full breaths before you even touch a barbell to master the neuromuscular connection.
Mastering this bracing technique is a non-negotiable prerequisite for heavy squatting. It transforms your core from a passive structure into an active stabilizer, providing the internal support needed to keep your spine safe as you descend into the hole.
High Bar vs. Low Bar: Which Squat Style Suits Long Femurs Better?
Once you’ve established your optimal stance and core brace, the next level of customization is choosing the right squat variation for your body type, specifically your limb proportions. The debate between high-bar and low-bar squats isn’t about which is “better,” but which is a better biomechanical match for your levers. This is especially critical for lifters with long femurs relative to their torso.
In a high-bar squat, the barbell rests directly on the upper trapezius muscles. This position promotes a more upright torso, which requires significant ankle dorsiflexion and places more emphasis on the quadriceps. For a long-femured lifter, maintaining this upright posture is extremely challenging; to keep their center of gravity over their mid-foot, they must allow their knees to travel far forward and their hips to drop very low, making it feel unstable and often limited by ankle mobility. Conversely, the low-bar squat, where the bar sits on a shelf created on the rear deltoids, changes the entire dynamic. It forces a greater forward torso lean, which in turn reduces the required range of motion at the knee and ankle. This shifts the emphasis toward the powerful muscles of the posterior chain—the glutes and hamstrings—and makes the movement mechanically more efficient for someone with long femurs.
The following table, based on biomechanical principles from an analysis of squat mechanics, highlights the key differences:
| Factor | High Bar | Low Bar |
|---|---|---|
| Bar Position | Upper trapezius | Rear deltoids |
| Torso Angle | More upright | More forward lean |
| Hip Flexion | Greater depth | Less required |
| Knee Stress | Higher | Lower |
| Best For Long Femurs | Challenging | More suitable |
As NASM Certified Personal Trainers note, some lifters try to compensate with an excessively wide stance. “While from a biomechanical perspective this variation enables the lifter to complete the exercise with higher loads because range of motion is reduced, it may not be the safest variation.” The takeaway is clear: instead of fighting your anatomy, choose the tool that fits the job. For many lifters struggling with depth and balance, switching from high bar to low bar is the single most effective change they can make.
The ‘Knees Caving In’ Error That Tears ACLs Under Load
Knee valgus, the inward collapse of the knees during the ascent of a squat, is one of the most dangerous movement faults a lifter can display. It’s not just an aesthetic issue; it places enormous stress on the medial collateral ligament (MCL) and, most critically, the anterior cruciate ligament (ACL). When the knee moves into this valgus position under heavy load, it creates a shearing and rotational force that these ligaments are not designed to withstand, making it a primary mechanism for non-contact ACL tears.
This collapse is rarely a result of tight adductors pulling the knees in. Instead, it is almost always a sign of weak or inactive gluteus medius and minimus muscles. These smaller glute muscles are responsible for hip abduction and external rotation. During a squat, their job is to fire isometrically to hold the femur in a stable, neutral alignment, tracking directly over the foot. When they fail to activate, the powerful adductors and hip flexors overpower them, pulling the knees inward. The cue “push your knees out” is a temporary fix; the real solution is strengthening the muscles responsible for preventing the collapse in the first place.
A crucial step is re-establishing neuromuscular control, starting from the ground up. This begins with creating a stable base through the “tripod foot” concept. By actively grounding the big toe, little toe, and heel, you create an arch and a stable platform. From this base, you can then focus on the external rotation torque, or “screwing your feet into the floor,” which pre-activates the glutes before you even begin to descend. This ensures the correct muscles are firing from the start to maintain knee alignment throughout the entire range of motion.
When to Use Weightlifting Shoes to Cheat Your Range of Motion?
If you’ve addressed your stance, core brace, and squat style but still find your heels lifting or your torso collapsing forward excessively at the bottom, the limiting factor is likely inadequate ankle dorsiflexion. This is the ability of your shin to move forward over your foot. A lack of mobility here prevents your knees from tracking forward sufficiently, forcing your body to compensate by either rounding the lower back or shifting your weight forward onto your toes—both of which are unstable and dangerous.
While long-term mobility work is the ideal solution, a powerful and immediate fix is the use of weightlifting shoes. These shoes are characterized by a hard, non-compressible sole and, most importantly, an elevated heel. This elevation, typically 0.5 to 1.0 inch, artificially increases your ankle dorsiflexion. It effectively places your foot on a small ramp, allowing your shins to achieve a more forward angle without being restricted by your calf and soleus muscles. This enables you to maintain a more upright torso, squat deeper with a neutral spine, and keep your center of gravity over your mid-foot.
It’s crucial to see these shoes not as a crutch, but as a tool to correct a specific biomechanical limitation. They are a “cheat” in the best sense of the word, allowing you to perform the movement with better mechanics *now* while you continue to work on improving your underlying ankle mobility. As researchers highlight in biomechanics studies, the importance of this is not to be understated. According to Lun, Meeuwisse, Stergiou, & Stefanyshyn, “Research suggests if an individual possesses less than adequate ankle dorsiflexion, they may be at greater risk of injury to the knees, hips, or low-back during functional movement patterns.” Using weightlifting shoes is a proactive measure to mitigate that risk and train the squat pattern correctly and safely.
The Volume Mistake That Inflames Patellar Tendons in Teenagers
Patellar tendonitis, or “jumper’s knee,” is a common overuse injury characterized by sharp pain just below the kneecap. While it can affect anyone, it’s particularly prevalent in teenage lifters who are enthusiastic but often misguided in their programming. They find a squat variation that feels good and proceed to hammer it with excessive volume and intensity, day after day. This relentless loading, without adequate recovery, leads to micro-tears and inflammation in the patellar tendon.
The problem is often exacerbated by focusing on a specific, limited range of motion. Many lifters inadvertently spend most of their time in the most stressful portion of the lift. For the patellar tendon, the peak stress occurs as the knee angle passes through the parallel position. Biomechanical research identifies the sticking point occurs at around 60-90° of knee flexion, which is precisely where many lifters bounce or grind through their reps, repeatedly stressing the tendon.
The corrective approach is two-fold: volume management and therapeutic exercise. First, you must reduce the aggravating load. This doesn’t mean stopping squats entirely, but rather reducing the frequency and intensity, and perhaps temporarily substituting with variations that are less stressful on the knee, like box squats or low-bar squats. Second, you should introduce isometric exercises. Isometrics, where the muscle contracts without changing length, have been shown to have a significant analgesic (pain-relieving) effect on tendons. Holding a wall-sit or a Spanish squat for 30-60 seconds can reduce pain and promote healing. This allows you to maintain quadriceps strength and tendon health without the repetitive strain of dynamic movements, providing a bridge back to pain-free, full-range squatting.
Why Your Lower Back Hurts Only on One Side After Squash?
Experiencing lower back pain that is consistently localized to one side after squatting is a red flag. It is a clear signal of an underlying asymmetry in your movement pattern, most commonly a “hip shift.” As you descend, instead of your hips tracking straight down, they shift noticeably to one side. This causes you to load one side of your body more than the other, forcing the spinal erectors and quadratus lumborum (QL) muscle on the opposite side to work overtime to stabilize your pelvis and spine. Over time, this chronic, lopsided strain leads to inflammation, muscle spasms, and unilateral pain.
This shift isn’t random; it’s a compensation for an imbalance. The body is an expert at finding the path of least resistance. A hip shift can be caused by several factors, including:
- Hip mobility asymmetry: One hip may be tighter in internal or external rotation than the other.
- Ankle mobility differences: A stiffer ankle on one side can restrict forward knee travel, forcing the hips to shift away from that side.
- Motor control issues: A weakness in one glute or a poor neuromuscular connection can cause a stability deficit on that side.
The solution is not to simply “try to stay centered.” You must diagnose and correct the root cause of the imbalance. This involves implementing unilateral corrective exercises into your routine. Exercises like single-leg glute bridges, Bulgarian split squats, and single-leg Romanian deadlifts force each side of your body to work independently. This exposes weaknesses and imbalances that are often masked during bilateral movements like the squat. By strengthening the weaker side and improving motor control, you can correct the hip shift at its source, allowing you to squat with a balanced, centered pattern and eliminate the one-sided back pain.
Key Takeaways
- Your individual hip anatomy, not a universal rule, dictates your optimal squat stance and depth.
- Core stability through 360-degree bracing is more critical for preventing lower back rounding (“butt wink”) than hamstring flexibility.
- Knee collapse (valgus) is a sign of weak glute activation, not just a bad habit, and requires targeted neuromuscular re-education.
How to Add 2 Inches to Your Thighs When Heavy Squats Aren’t Working?
For many lifters, the equation for bigger legs seems simple: squat heavier. But what happens when adding more plates to the bar leads to form breakdown, joint pain, or simply a plateau? The answer lies in shifting the focus from absolute load to a more intelligent variable: time under tension (TUT). Muscle hypertrophy is primarily driven by mechanical tension. While heavy weight is one way to create that tension, it’s not the only way. By deliberately slowing down the movement, you can significantly increase the total time your muscles spend working during a set, stimulating growth without necessarily needing to increase the weight.
This is where tempo squats become a game-changing tool. A tempo is prescribed with a series of numbers, such as 4-2-1-0, representing the eccentric (lowering), pause, concentric (lifting), and pause phases of the lift. Performing a squat with a 4-second eccentric, a 2-second pause at the bottom, and a 1-second concentric drastically increases the TUT compared to a standard, faster rep. This extended tension creates significant metabolic stress and muscle damage, two key drivers of hypertrophy, even with lighter weights.
Furthermore, deep, full range-of-motion squats are biomechanically superior for growth, particularly for the glutes and adductors. A 10-week study found deep squats produced a 6.7% increase in gluteus maximus volume and a 6.2% increase in adductor volume, significantly more than partial squats. By combining a deep, safe squat (perfected through the principles in this guide) with controlled tempo, you create the ultimate stimulus for thigh development. You ensure that every muscle fiber is being recruited and held under tension through its most productive range of motion, forcing adaptation and growth that heavy, partial-rep squats could never achieve.
Begin today by analyzing your unique structure and applying these corrective principles. Building a squat that is both powerful and sustainable is not about forcing a perfect form, but about perfecting your own.